
For a product walkthrough, capture the task once without trying to explain every tap at the same time. Then write narration around the actual screen action. Lightshot’s demo take workflow combines that saved video with a presenter recording; it does not capture the iPhone screen itself.
How do you screen record a task for a demo?
Start iPhone’s own Screen Recording from Control Center and capture one complete task, from its starting state to its result.
Prepare an example account with no private client information, notifications or hidden tabs you might expose.
Open Control Center and tap Screen Recording. Wait for the countdown, return to the app and perform the task.
Pause briefly on the starting state and the completed result so the narration has somewhere to begin and end.
Stop recording and review the video in Photos. Repeat the screen capture if an accidental tap makes the sequence confusing.
Apple’s screen-recording instructions explain microphone recording too, and note that some apps prohibit capturing audio or video. If you will narrate later, avoid recording an unnecessary second voice track. The editor’s Demo sound control can change the screen video’s volume.
Write to what the screen actually shows
Name the task in the first sentence. Then write the action and the visible result: “Choose the project. Its open tasks appear here.” Avoid narrating a feature that does not appear in the recording. The script editor can hold a pasted outline; our short-script guide helps remove detours.
Play the screen capture while reading aloud. If the cursor reaches the result before you finish explaining, shorten the wording or record slower screen action. Baruch College’s pace exercise is a starting point for timing speech; use the script timer to estimate the draft, then trust the rehearsal.
How do you add your face to the screen recording?
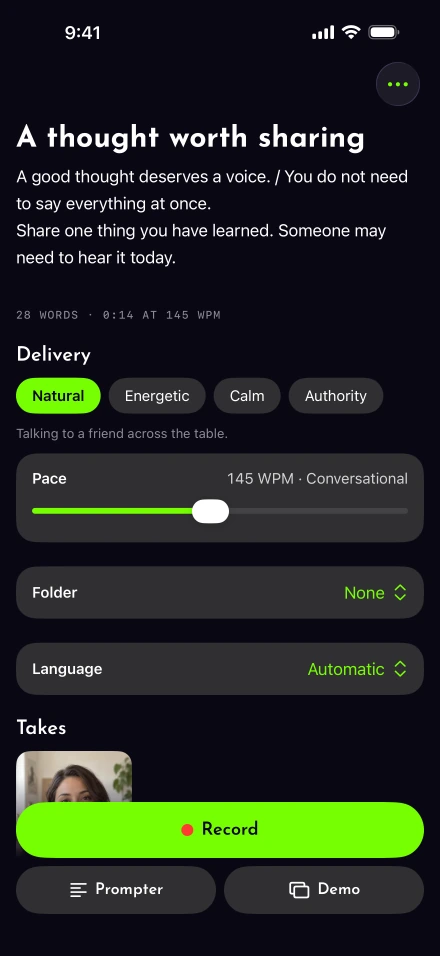
Open the script, tap Demo and select the capture; your camera then sits over it in the layout you choose. The capture can come from Photos or Files. Trim the source portion you need. If the video was made on another Apple device, AirDrop is one way to move it to the recording iPhone.
Choose Bubble for a small presenter over the task, Split when the entire screen needs its own area, or Cutout when removing the room helps the composition. Cutout works best with one well-lit person; where detection fails, the full camera image can appear. Use the camera and lighting checklist before recording the presenter.
Drag and resize the bubble so it does not cover the next button, menu or result. Check every screen in the sequence, not only the first. DCMP’s caption placement guidance also cautions against covering essential graphics. Leave room for both your face and the words viewers will read.
What if you talk for longer than the recording lasts?
The final frame holds until you stop speaking. That helps with a closing instruction, but it cannot repair a mismatch in the middle of the demonstration, so start the narration with the background video and keep pace with it.
Use voice-following for the script if your device supports the language. For a failed narration, Restart narration discards that narration while retaining the screen video. A demonstration needs a fresh timing pass after major script changes; the general retake techniques do not make unsynchronized screen action match new speech.
Review the finished demonstration differently
Demo takes skip silence cuts and zoom-at-cut edits to preserve the screen timeline. They keep Original resolution and do not use Canvas background replacement. To apply export-time Quality tools, select the main video in the timeline. Plan the source dimensions before filming. The slide presentation workflow uses the same saved-video approach.
Correct caption text against what you actually said and inspect technical names. W3C’s caption guidance includes meaningful sounds beyond speech, which may require your own additions. Follow export and sharing help to save a file, then watch it through once: the viewer should see each action when you explain it.