
A product explanation can be hard to follow when the viewer has to imagine every tap. A demo take puts the recorded action beside the person explaining it. Use this part of the Lightshot workflow for a feature walkthrough, software lesson or a prepared screen-based presentation.
Can you record your screen and your face at the same time?
Not in one pass in Lightshot: the screen is recorded first, and your face and voice are added while that recording plays back. Use the iPhone’s own screen-recording control, following Apple’s screen recording instructions. The resulting video appears in Photos. Some apps restrict audio or video capture, so play back the saved recording and confirm it contains the material you intend to show.
Prepare a script around that recording, then choose Demo from the script editor. Select the source from Photos or Files and trim the portion to use. Lightshot plays this prepared video while you speak; it is not a live screen-capture tool. The screen narration guide covers the sequence in more detail.
Fit your explanation to the visible steps
Read through the script while watching the trimmed clip. If a tap or result arrives too early, change the explanation or prepare a better-paced source recording. If your narration outlasts the selected footage, Lightshot holds its final frame. That can suit a closing thought, but it should be a choice you make before the final take.
You can use voice-following for the prepared words, while remembering that the screen footage has its own timeline. Voice-following does not make an action in the imported clip wait for a sentence. If the whole narration needs another attempt, Restart narration discards it while keeping the source screen recording.
Which presenter layouts can you choose?
Three: Bubble, Split and Cutout. Bubble keeps your camera in a circle, rounded rectangle or square above the screen. Drag it away from the control being demonstrated and pinch to resize it. Split places the complete screen above you, with an adjustable division. Cutout removes the room around one well-lit presenter and places the person over the screen.
The cutout result depends on detecting a person: if nobody is found, the live preview shows the camera frame and the edited layout falls back to the bubble. Avoid positioning your face over the next button or result. For an explanation with tiny interface text, a smaller presenter may leave the important detail readable.
Refine the presenter and the audio
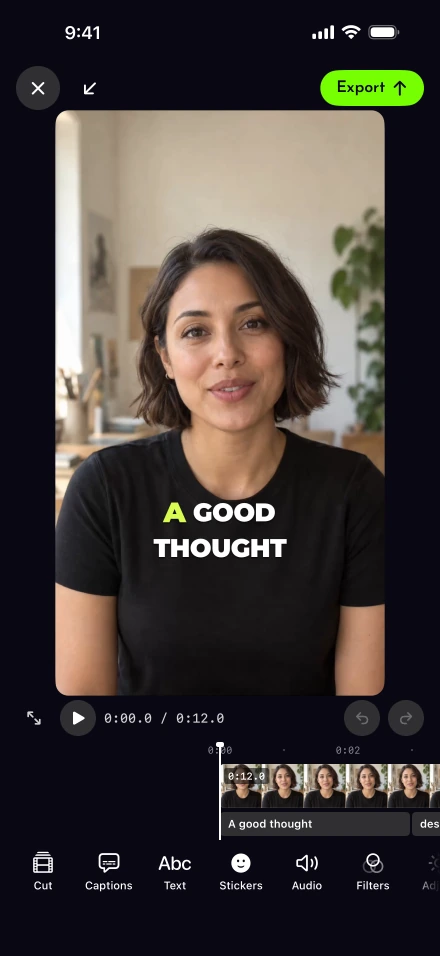
The editor’s Presenter controls let you change layout, shape, mirror, shadow, corner, size, face position and border. Face zoom ranges from 1× to 2.5×. Filters and adjustments can treat the screen and webcam separately, which helps when one source is much brighter than the other.
Demo sound changes the screen recording’s volume. Listen for source audio competing with narration, then inspect the speech captions for product names and labels. A founder showing a product should leave room for the actual result on screen instead of covering it with a long caption.
Can you narrate over slides the same way?
Yes, as a workflow: export the deck as a video first, then record a demo take over it. Keynote on iPhone can export a presentation as a movie; Microsoft documents video export for PowerPoint on Windows and PowerPoint on Mac. Read the exporter’s limits for animations and embedded media, then play the resulting file before importing it.
If the deck starts on a Mac, AirDrop can move the exported movie to your iPhone. Our slides-to-demo workflow describes this route, which has not yet been tested end to end in Lightshot. Educators preparing a lesson should check slide readability at the final display size.
What does a demo take leave out?
Silence cuts, zoom at cuts and background replacement, so the screen action stays as recorded. The auto edit leaves a demo’s timing alone, and Canvas has no background option for the screen recording. Quality controls are available after selecting the main video in the timeline and take effect at export. They export at Original size only; make the source footage the size and shape you need before the narration session. Watch the completed movie from beginning to end to check the spoken explanation against the visual sequence.